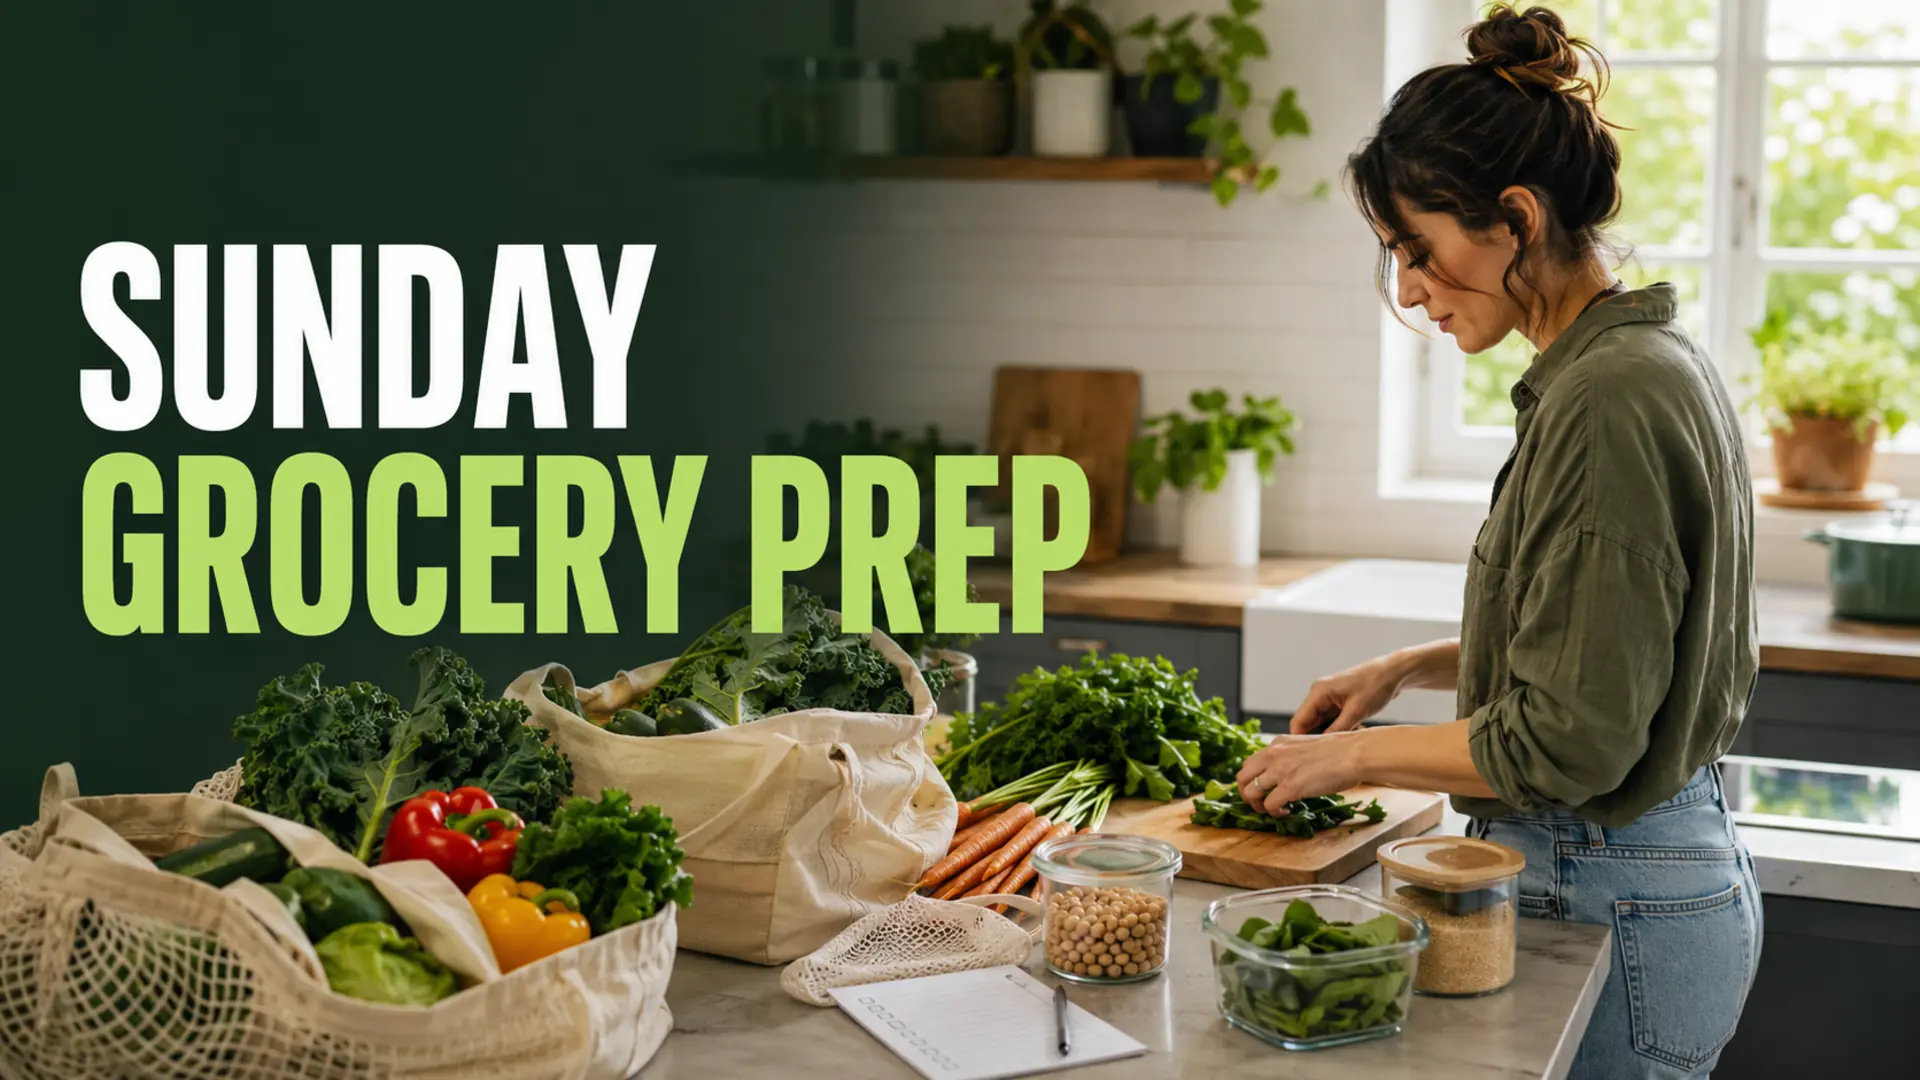
Sunday grocery prep is a flexible routine for checking what you have, planning several meals, shopping with a focused list and preparing a few ingredients for the days ahead. It does not need to follow a strict three-hour schedule. A useful session might take less or more time depending on household size, recipes, mobility, kitchen space and how much preparation you choose to do.
The goal is to reduce weekday decisions without turning Sunday into an exhausting production line. Use the steps below as a menu: complete the parts that will make the coming week easier and skip work that does not serve your plan.
Sunday grocery prep overview
- Review the week ahead.
- Check the pantry, refrigerator and freezer.
- Choose a realistic set of meals.
- Build and organize the grocery list.
- Shop and put perishable food away promptly.
- Wash or prepare selected ingredients safely.
- Cook only the components that will be useful.
- Cool, portion, label and store prepared food safely.
Step 1: Review your week before choosing meals
Look at work hours, school, appointments, social plans and evenings when cooking time will be limited. Count how many breakfasts, lunches and dinners actually need food at home. This prevents planning seven full dinners when only four are realistic.
- Mark busy evenings that need quick or reheatable meals.
- Identify days when leftovers can become lunch.
- Note dietary needs and who will be eating each meal.
- Leave one flexible slot for plans that may change.
Step 2: Check food already at home
Scan the refrigerator, freezer and the pantry zones connected to your planned meals. Bring suitable older items forward and identify ingredients that should be used soon. Avoid tasting questionable food to decide whether it is safe. Follow package directions and food-safety guidance applicable where you live.
If the cupboards need a deeper review, use this monthly pantry audit checklist. For a weekly session, a quick count of staples and priority food is usually enough.
Step 3: Choose meals with ingredient overlap
Select meals that share a few ingredients without feeling identical. Roasted peppers might appear in grain bowls, wraps and a side dish. Cooked lentils can support soup and salad. Ingredient overlap can make the list shorter and gives opened packages a clear next use.
| Prepare once | Use in different ways |
|---|---|
| Roasted vegetables | Bowls, wraps, pasta or side dishes |
| Cooked grain | Breakfast bowl, salad or dinner base |
| Beans or lentils | Soup, salad, tacos or grain bowls |
| Washed greens | Salad, sandwiches or cooked dishes |
| Simple sauce | Dressing, dip or finishing sauce |
Do not prepare every meal in full unless that genuinely suits your household. Keeping some components separate can preserve texture and make it easier to change plans.
Step 4: Build a practical grocery list
Write the required quantity beside ingredients when it matters, then combine duplicates from different recipes. Subtract suitable food already at home. If a package is larger than the recipe needs, decide how the remainder will be used before adding it to the list.
- Produce: fresh fruit, vegetables and herbs
- Proteins: beans, lentils, tofu, eggs, meat, poultry or seafood
- Grains and bakery: rice, pasta, oats, quinoa, bread or wraps
- Refrigerated items: milk, yogurt, cheese or alternatives
- Pantry items: tins, sauces, spices and cooking staples
- Frozen items: vegetables, fruit or planned freezer foods
Arrange categories in the order that matches your usual store. These shopping-list-by-aisle steps explain how to create a store-specific route rather than assuming every supermarket has the same layout.
Step 5: Shop with food safety in mind
Choose chilled and frozen products toward the end of the trip when practical, keep raw animal products separated from ready-to-eat food, and return perishables to appropriate refrigeration promptly. Avoid buying damaged or leaking packages. Use insulated bags or a cooler when travel time or weather makes it necessary.
Step 6: Set up safe preparation zones
Put refrigerated and frozen groceries away before starting a long prep session. Wash hands and clean work surfaces. Keep raw meat, poultry, seafood and eggs separate from produce and ready-to-eat foods, and use clean boards and utensils between tasks.
Instead of unloading raw proteins beside salad ingredients, work in stages. Prepare produce first when appropriate, clean and sanitize the area, then handle raw animal products. Follow the FoodSafety.gov clean, separate, cook and chill guidance.
Step 7: Prepare only what will stay useful
Produce preparation
Wash produce according to applicable guidance and dry it when excess moisture would shorten quality. Chop sturdy vegetables for planned recipes, but leave delicate or fast-browning items whole until closer to use. Store different ingredients according to their needs instead of applying one method to everything.
Grains and meal components
Cook a grain, bean dish, protein or tray of vegetables only if it supports several planned meals. Flexible formulas from this 5-ingredient sheet pan dinner guide can help you choose combinations without committing to one rigid weekly menu.
Sauces and seasonings
A simple dressing or sauce can add variety, but store it according to the ingredients used. Do not assume every homemade sauce has the same refrigerator life. Label it and follow suitable storage guidance.
Step 8: Cook foods to safe temperatures
Cooking time varies with the food, thickness, equipment and batch size. Use a food thermometer for foods that require a safe minimum internal temperature instead of relying only on a timer or appearance. FoodSafety.gov provides a current safe internal-temperature chart.
Step 9: Cool and store prepared food safely
Do not leave cooked perishable food on the counter until it reaches room temperature. Divide large batches into smaller portions and use shallow containers so they cool more quickly. Refrigerate or freeze perishable food within the time limits recommended by your local food-safety authority; FoodSafety.gov advises refrigeration within two hours, or within one hour when food is exposed to temperatures above 90°F (32°C).
Label containers with the food name and preparation date. Storage time depends on the specific food, so check an appropriate chart instead of assigning every meal the same number of refrigerator or freezer days. The freezer meal prep checklist includes packaging and labelling guidance.
A flexible Sunday grocery prep schedule
| Stage | Core task | Optional extra |
|---|---|---|
| Plan | Review the week and choose meals | Write backup meal ideas |
| Check | Review pantry, refrigerator and freezer | Clean one small storage zone |
| List | Combine ingredients and check quantities | Arrange the list by store route |
| Shop | Buy the planned items and store perishables | Compare package sizes |
| Prepare | Complete the most useful washing, chopping or cooking | Make one sauce or snack component |
| Store | Cool, portion, label and refrigerate or freeze safely | Write a short use-first note |
Keep Sunday prep sustainable
Finish with a clean kitchen and a short note about which foods should be used first. If the routine becomes too large, reduce the number of recipes or prepare ingredients instead of full meals. A consistent 30-minute check can be more useful than an ambitious schedule you avoid repeating.
Sunday grocery prep works best when it matches your real week. Review, shop, prepare and store food in a sequence that reduces decisions while protecting flexibility and food safety. For broader nutrition guidance, consult the official recommendations for your country or region; the existing Canada’s Food Guide is one authoritative example.