Learning how to organize a grocery list by category can make a shopping trip easier to follow from the first aisle to the checkout. The useful part is not a universal aisle order—it is grouping related items, then arranging those groups to match the store you actually use.
A categorized list reduces backtracking, helps household members find items quickly, and makes it easier to keep sturdy, chilled and fragile groceries together. It cannot guarantee that checkout time will be cut in half, but it creates a clearer routine for shopping, loading the belt and packing bags.
Why organize a grocery list by category?
A list written in the order items come to mind might place apples, yogurt, rice and spinach far apart. Grouping those items turns a scattered reminder into a practical route. Categories also make duplicates easier to spot before you leave home and help you see whether a meal plan is missing a key component.
If you want a repeatable starting point, adapt this reusable weekly shopping template rather than rebuilding your list every week.
Choose categories that fit your store
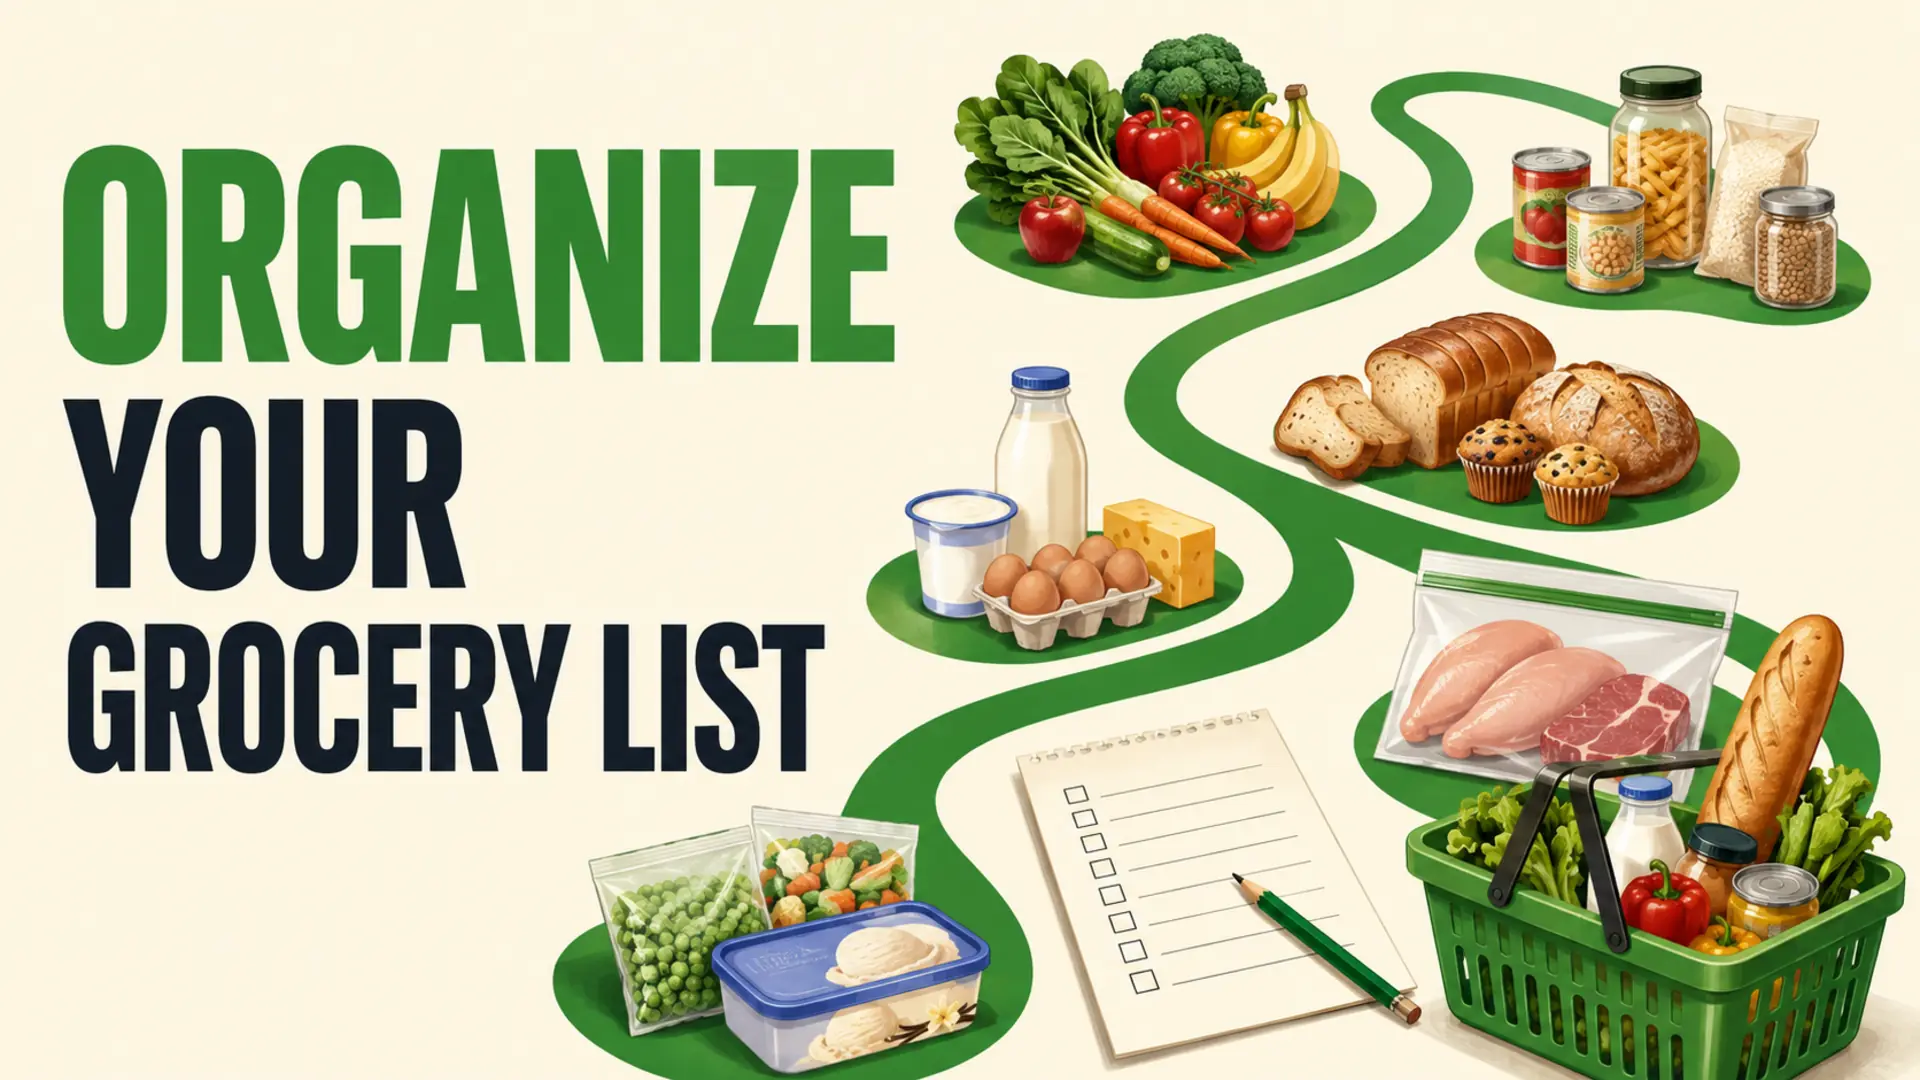
Store layouts vary, so treat the following categories as flexible labels rather than a fixed walking order:
- Produce: fruit, vegetables and fresh herbs
- Bakery: bread, wraps and other baked goods
- Pantry: grains, pasta, canned foods, sauces, oils and spices
- Protein: beans, tofu, eggs, meat, poultry or seafood
- Chilled: milk, yogurt, cheese and refrigerated alternatives
- Frozen: frozen vegetables, fruit and prepared staples
- Household: paper goods, cleaning supplies and personal-care items
Use fewer categories for a short list. For a large shop, split “pantry” into the sections that help you navigate, such as breakfast, baking and canned goods. The best system is the one you can scan without stopping.
Put the categories in your usual walking order
On your next visit, notice where you enter and the order in which you normally pass each department. Rearrange your list to match that route. A store with produce near the entrance might begin with produce; another may start with pantry aisles. Save that order as your default and adjust it when you shop somewhere else.
For multi-store trips, make a separate heading for each shop. This prevents an item sold at one location from sending you back through another. If you are moving away from handwritten notes, the same structure works in a shared list; this guide to moving from paper to digital grocery lists explains a gradual household-friendly approach.
Plan for the cart as well as the aisle
Finding items efficiently is only part of the job. Place sturdy groceries such as cans and jars where they will not crush delicate food. Keep bread, herbs, berries and eggs in a protected part of the cart. If raw meat, poultry, seafood or eggs are on your list, keep them separate from ready-to-eat foods and produce.
FoodSafety.gov advises separating raw meat, poultry, seafood and eggs from other foods in both the shopping cart and grocery bags. Its four steps to food safety offer useful guidance for shopping and home storage.
Shop chilled and frozen items near the end
Where the layout allows, collect refrigerated and frozen items toward the end of the trip so they spend less time away from temperature control. Keep them grouped on the list and in the cart. Once home, put these foods away promptly according to their labels and local food-safety guidance.
If the store route forces you past a chilled section early, avoid unnecessary backtracking. A sensible path and a timely trip home matter more than following an inflexible sequence.
Load the checkout belt with packing in mind
There is no single perfect belt order because cashiers, bagging areas and local checkout systems differ. A practical approach is to place sturdy, non-food and pantry items together, then produce and chilled goods, while keeping fragile items for the end. Keep raw animal products separated so they can be packed away from foods eaten without further cooking.
Do a quick cart check before unloading. That pause can catch a small item tucked under the basket, a damaged package or a delicate food that needs protection. For more useful checkout checks, see these meal prep mistakes that waste money at checkout.
Use clear item names and useful quantities
Categories work best when each entry is specific enough for anyone sharing the list. “Vegetables” is vague; “2 bell peppers” or “frozen peas” is easier to act on. Add a preferred size only when it matters, and note acceptable substitutions for ingredients that are flexible.
Before shopping, check cupboards, the refrigerator and the freezer. Pantry zones make this faster; the same principle is covered in this guide to organizing spices, oils and condiments.
A simple reusable workflow
- Add items as you notice they are running low.
- Review the week’s meals and household needs.
- Remove anything already in stock.
- Group the remaining items by department or aisle.
- Arrange the groups in the order of your chosen store.
- Keep chilled, raw and fragile foods appropriately separated while shopping and packing.
- After the trip, update the template if the store layout or your routine has changed.
Make the system easy to maintain
To organize a grocery list by category successfully, start with broad sections and refine only where it saves effort. Match the order to your store, keep food safety and fragility in mind, and reuse the structure each week. A clear list will not control queues or staffing, but it can make the parts of the trip you do control more orderly and predictable.
For general healthy-eating context that can inform what goes on the list, Canada’s Food Guide is one trustworthy resource; readers elsewhere can pair it with guidance from their own national health authority.