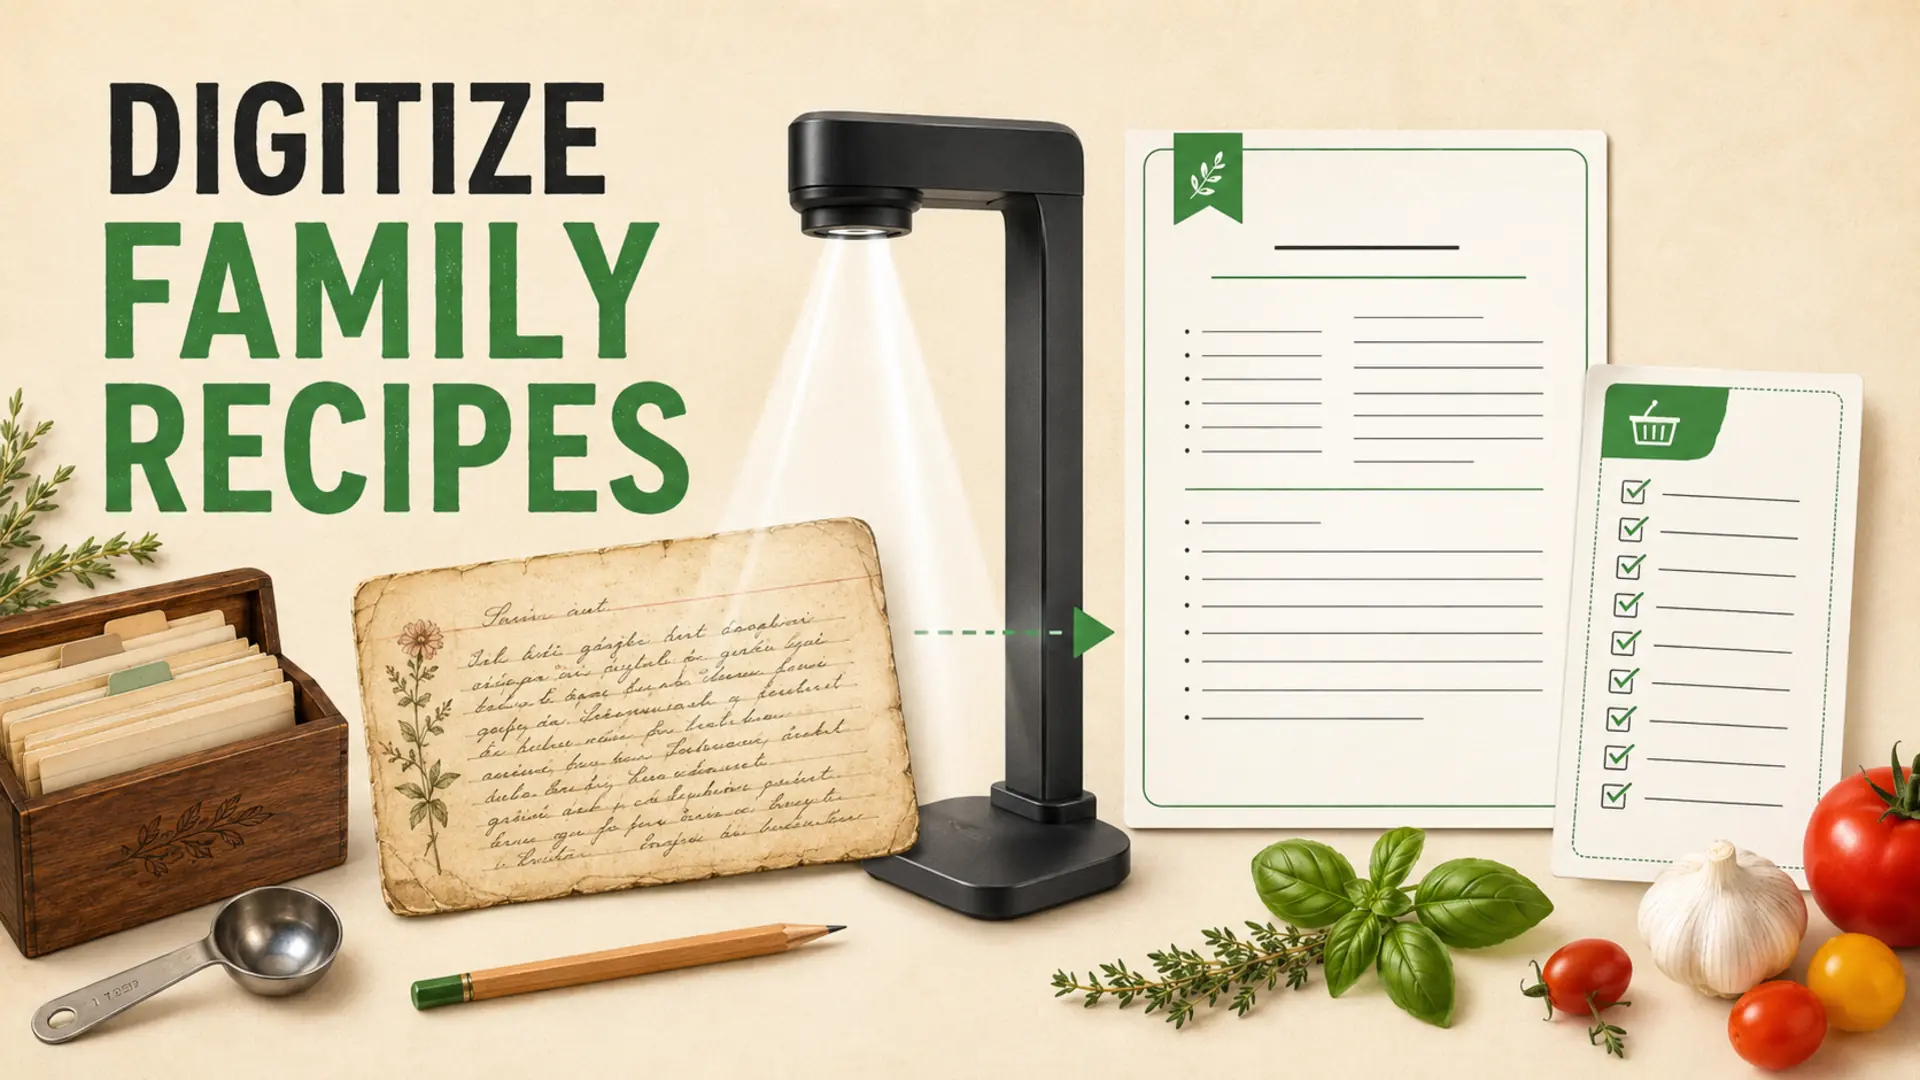
To digitize handwritten recipes, preserve two things separately: a clear image of the original card and an editable transcription you can verify. Keep uncertain words and measurements visible instead of silently guessing, test the recipe before standardizing it, and only then turn the confirmed ingredients into a grocery list.
This approach protects the family history in handwriting, stains and personal notes while creating a practical version for cooking, scaling and shopping. It does not require a particular app or automatic recipe scanner.
How to Digitize Handwritten Recipes Safely
1. Handle the original carefully
Work on a clean, dry surface away from food and drinks. Wash and dry your hands, support fragile cards fully and avoid flattening folds by force. Do not erase marks, repair tears with ordinary tape or write conversions on the original.
The U.S. National Archives advises keeping originals after digitization because digital files can also be lost. Its family-paper digitization guidance explains why careful handling and preservation of the physical item still matter.
2. Photograph or scan the card
- Capture the front and back, including blank areas with meaningful marks.
- Use even, indirect light and avoid glare or strong shadows.
- Keep the camera parallel to the card to limit distortion.
- Include the full edges rather than cropping tightly.
- Take a second close image when handwriting is faint.
A flatbed scanner may give consistent results for sturdy cards, but do not force brittle, curled or bound material against the glass. Seek professional preservation help when an item is mouldy, insect-damaged, wet or unusually fragile.
3. Save a preservation copy
Keep the highest-quality original image unchanged. Give it a descriptive filename such as surname-dish-card-front-01, then create a separate working copy for cropping or contrast adjustments. Store copies in more than one location and check that family members can still access them.
Transcribe Without Losing the Original Meaning
Type what the card actually says before modernizing spelling or measurements. Preserve line breaks when they clarify the method. Mark unreadable words with brackets, such as [unclear], and record alternative readings in a notes field.
OCR or handwriting-recognition software can provide a draft, but cursive, stains, abbreviations and unusual layouts often produce errors. Compare every ingredient, quantity, temperature and instruction with the image. Do not treat automated output as verified text.
Do Not Guess Historical Measurements
Terms such as “teacup,” “pinch,” “wineglass,” “knob” and “butter the size of an egg” do not have one dependable conversion across households, eras and regions. The recipe’s author may also have used a particular cup, spoon or package size. Preserve the original phrase and add a separate interpretation only when evidence supports it.
- Ask relatives who watched or helped make the recipe.
- Look for the actual cup, spoon, tin or pan that was used.
- Compare other cards from the same cook for repeated wording.
- Test a small batch and record the result.
- Label the modern quantity as tested, estimated or still uncertain.
Avoid universal one-to-one substitutions for fats, flours or sweeteners. Ingredients can affect moisture, structure, flavour and cooking behaviour differently. Preserve the original ingredient, then document tested alternatives separately.
Create a Searchable Digital Recipe Record
- Recipe title: original title plus a clear modern label if needed.
- Source: person, branch of the family and approximate date.
- Original images: links to front, back and detail photographs.
- Faithful transcription: unchanged wording with uncertainty marked.
- Tested version: confirmed quantities, method and yield.
- Notes: pan size, texture, family memories and variations.
- Tags: meal type, occasion, cuisine, season and dietary considerations.
The guide to building a digital master recipe box explains how to keep confirmed recipes searchable and backed up without depending on one platform.
Test the Recipe Before Creating the Final List
Cook a small batch when possible. Record the ingredient brands or types that matter, the pan dimensions, actual yield and any adjustments. Keep the first digital version labelled “untested” until someone reproduces it successfully.
If you need a different yield, use the method for scaling recipes for one, two or four people. Scaling arithmetic is only a starting point: pan size, cooking time, leavening and seasoning may not change in a perfectly linear way.
Turn Confirmed Ingredients Into a Grocery List
- Copy ingredients from the tested version, not raw OCR output.
- Adjust quantities for the planned yield.
- Combine true duplicates while keeping different forms separate.
- Check the pantry, refrigerator and freezer.
- Add only missing amounts to the shopping list.
- Group the final items by store section.
For another source-verification workflow, see how to convert saved online recipes into grocery checklists. Both methods depend on checking the source rather than trusting an extracted ingredient list blindly.
Preserve Family Context and Privacy
Ask permission before broadly sharing cards that contain names, addresses, private notes or living relatives’ information. Record who supplied the recipe and how family members want to be credited. A shared collection can include access controls while still allowing the grocery-list version to circulate among cooks.
Final Digitization Checklist
- Handle and photograph the original carefully.
- Keep an unchanged preservation image.
- Transcribe faithfully and mark uncertainty.
- Verify any automated extraction line by line.
- Research rather than assume old measurements.
- Test and document a modern cooking version.
- Create the grocery list from confirmed ingredients.
- Back up the files and preserve the physical card.
When you digitize handwritten recipes, accuracy matters more than speed. Preserve the original wording, separate guesses from confirmed changes and record what worked after testing. The result is both a family archive and a dependable recipe that can support modern meal planning.
Frequently Asked Questions
What is the safest way to scan an old handwritten recipe card?
Use a clean, dry workspace and handle the card gently. Scan sturdy, flat cards without forcing folds or brittle paper against the glass; photograph fragile items from above instead. The U.S. National Archives digitization guide recommends keeping the original after scanning because digital files can also be lost.
Should I keep the original recipe card after digitizing it?
Yes. The handwriting, paper, stains, and notes may carry family value that a transcription cannot preserve, and digital files can fail or become inaccessible. Store the physical card appropriately and keep more than one digital copy. Do not tape, erase, or write modern conversions onto the original.
Can handwriting recognition accurately read old recipes?
It can create a useful first draft, but cursive, faded ink, abbreviations, stains, and unusual layouts frequently cause errors. Compare every ingredient, quantity, temperature, and instruction with the original image. Mark uncertain text as unclear instead of allowing software to silently choose a word.
How should I handle an unreadable ingredient or measurement?
Preserve the original wording and mark uncertainty in brackets. Check the reverse of the card, other recipes by the same person, and ask relatives who saw the dish prepared. Keep any modern interpretation in a separate note and label it as estimated until a tested batch confirms it.
How do I convert old terms such as teacup, pinch, or knob?
Do not assume one universal conversion. Historical household measures varied by era, region, and the utensils the cook used. Record the original phrase, research family context, and test a small batch. Add a modern quantity only as a documented interpretation, not as a replacement for the source.
What information belongs in a digital family recipe record?
Include the recipe title, cook or family source, approximate date, images of the front and back, a faithful transcription, uncertainty notes, and a separate tested version. Add yield, pan size, useful tags, family memories, and any confirmed variations so the record remains searchable and understandable.
How should I name and back up recipe scans?
Use descriptive, consistent filenames such as surname-dish-front-01, avoiding ambiguous labels like scan1. Add basic who, what, where, and when metadata. The National Archives recommends a 3-2-1 backup approach: three copies, on two kinds of media, with one copy stored off-site.
When should I turn a scanned recipe into a grocery list?
Create the final shopping list after the transcription has been checked and the recipe tested when important details are uncertain. Copy ingredients from the confirmed cooking version, scale the intended yield, check existing supplies, combine true duplicates, and keep different ingredient forms separate.
Can I scale a family recipe before testing it?
You can calculate a proposed scale, but label it untested. Pan size, cooking time, leavening, seasoning, and texture may not change in a perfectly linear way. Test the original or a small interpretation first, record the actual yield, and preserve the source quantities beside any adapted version.
Should I share digitized family recipes publicly?
Ask permission before sharing cards that contain living people’s names, addresses, private notes, or stories. Record who supplied the recipe and how they want to be credited. A private family collection can preserve context while a separate cleaned recipe and grocery list is shared more widely.